CGM Compression Lows During Bench Press: What to Check
Midway through a bench-press set, your CGM alerts for a low. Nothing feels off, and your phone’s graph shows a sudden drop. Maybe the sensor is pressing against the bench. Maybe your glucose is actually low.
Pressure is one possibility, but a sudden trace and the absence of symptoms cannot settle the question. Start by safely pausing the lift and following your personal low-glucose plan. Sorting out a possible sensor issue must not delay needed treatment.
What a compression low means
When we talk about a “compression low,” we mean a sensor reading affected by pressure around the sensor. Dexcom’s G6 FAQ explains that pressure can affect readings and that relieving it can help readings come closer to a blood glucose meter result. Dexcom G6: pressure-related readings (opens in a new tab)
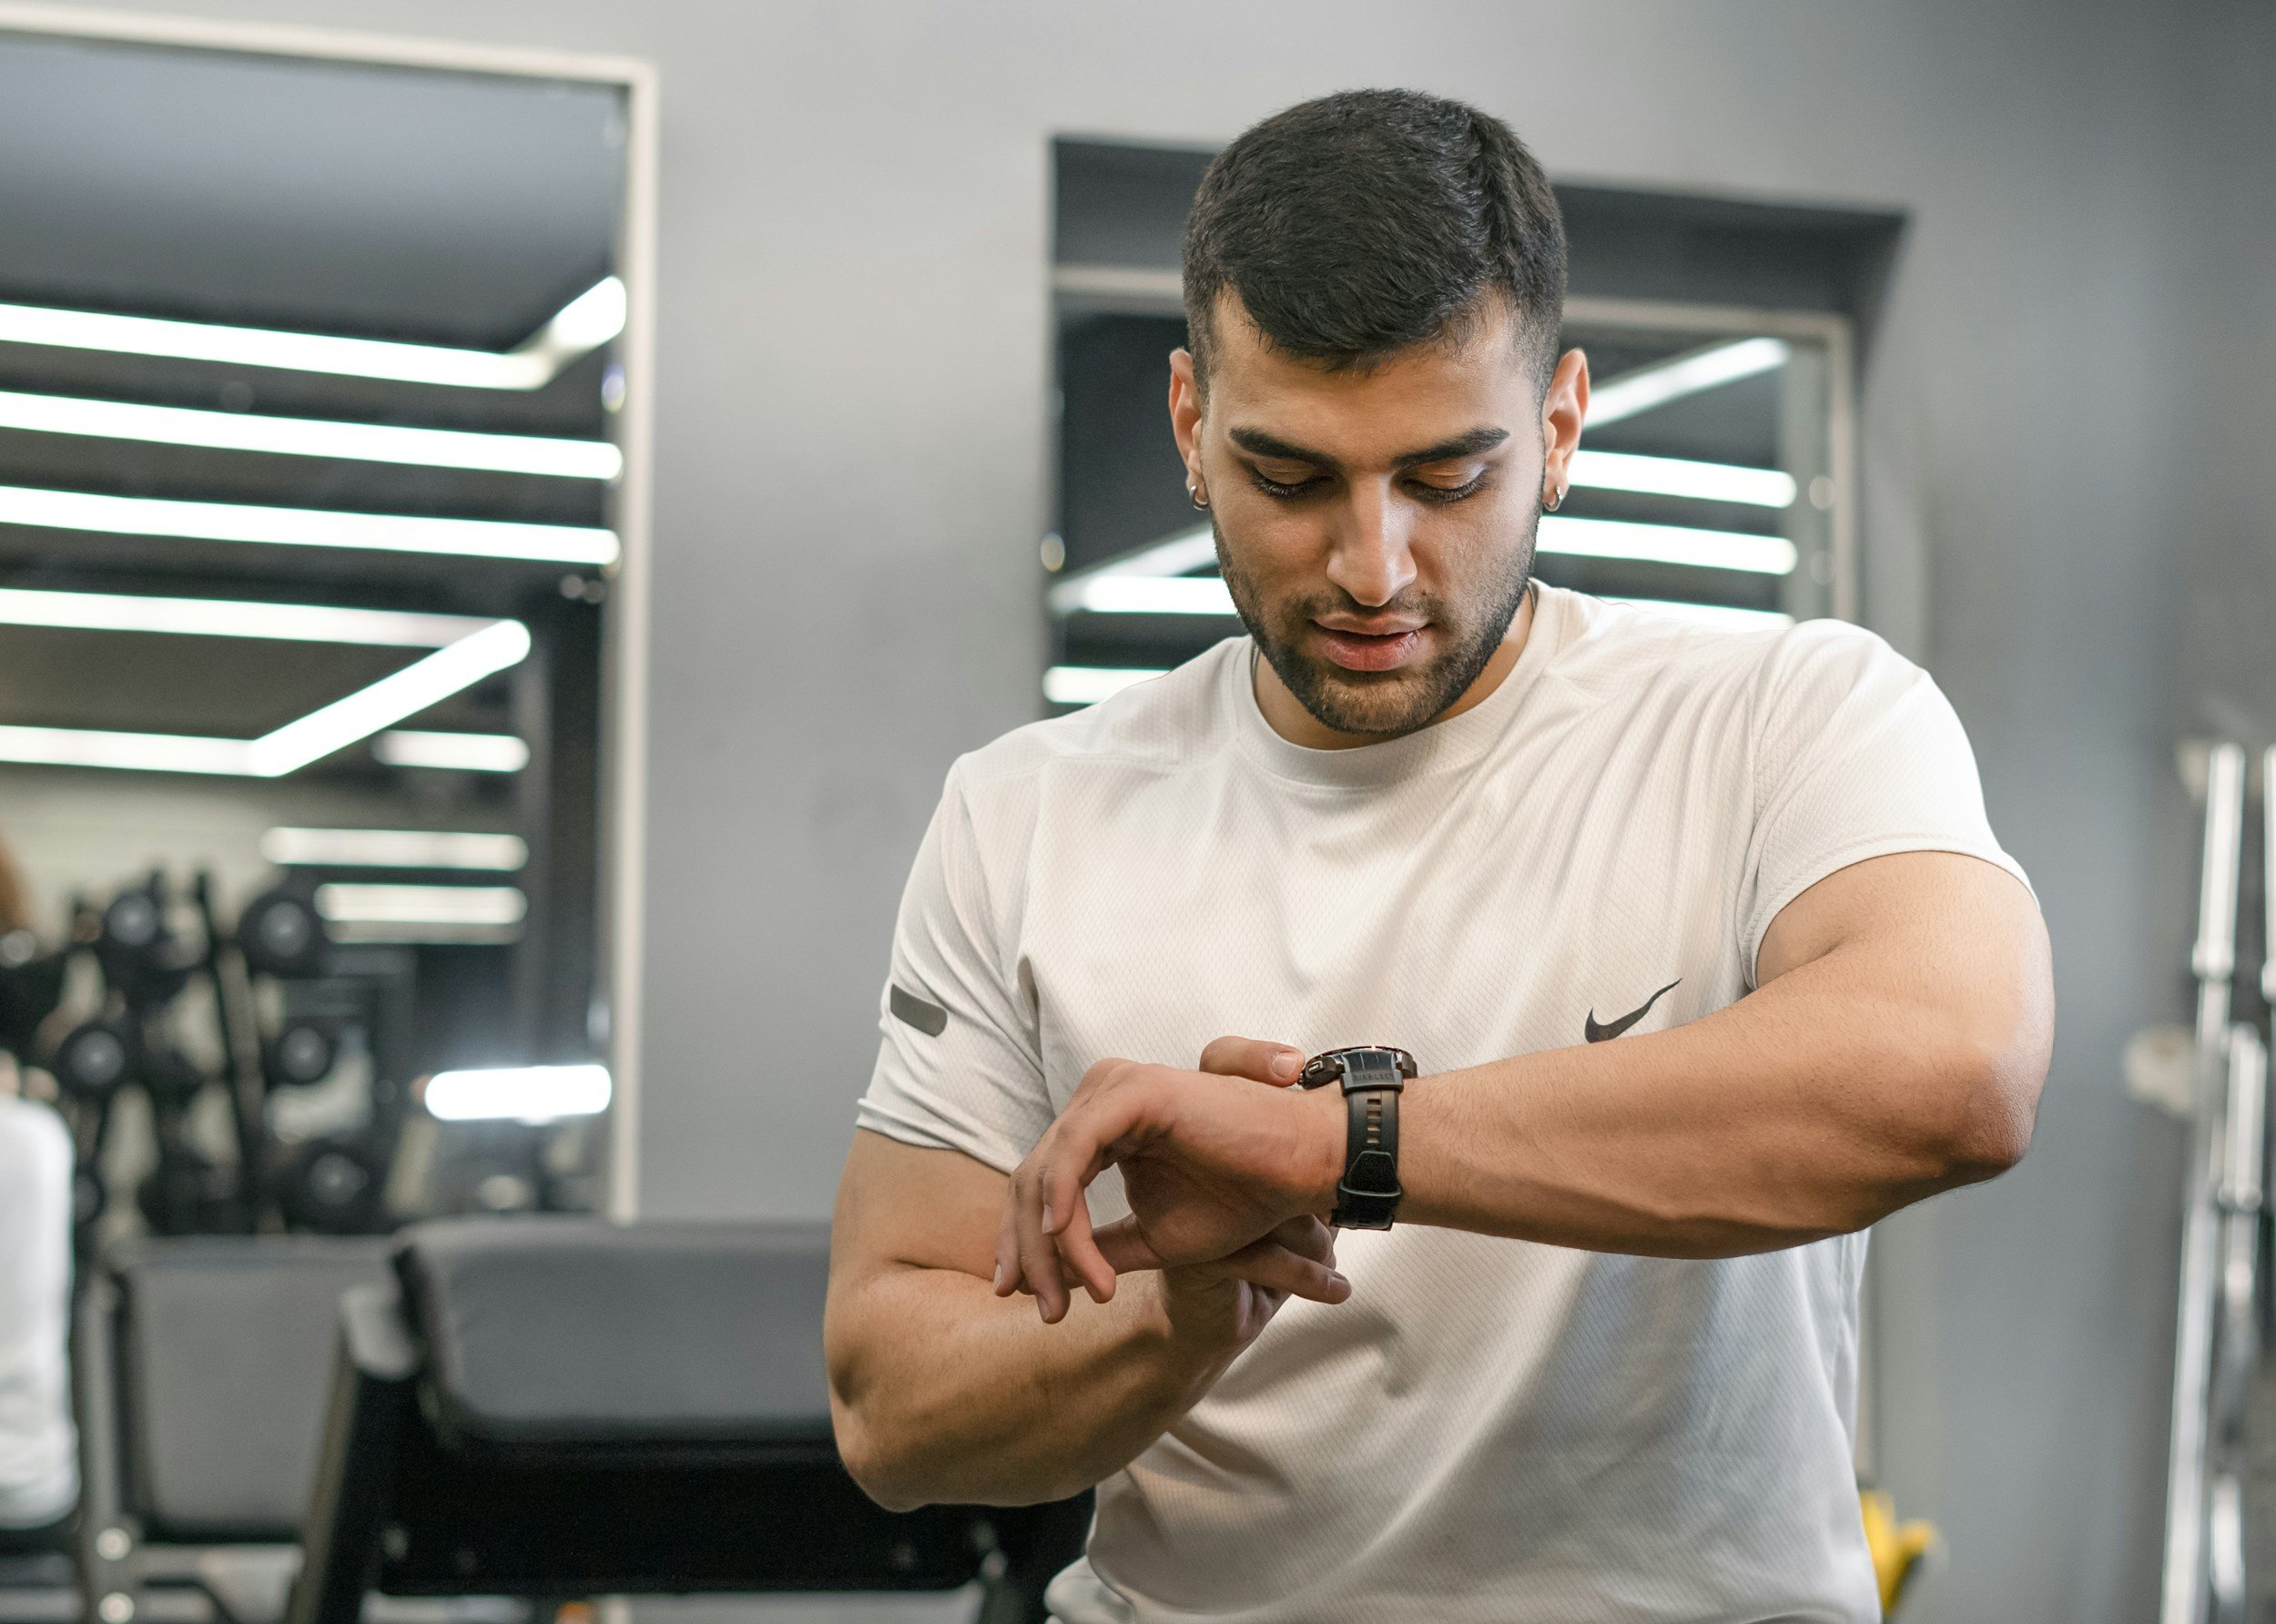
That makes pressure worth considering during a bench exercise. It does not make bench contact a diagnostic test. You can have a real low while the sensor is also touching a surface. Recent insulin, food timing, the session itself and the direction of glucose change still matter.
A graph is an observation, not a verdict
Record when the drop appeared and what you were doing. Was the sensor pressed against the bench, a sleeve or other equipment? Did the change follow a particular position? These observations are useful later, but they do not prove that an alert is false.
Likewise, feeling well does not rule out hypoglycemia. Symptoms may be difficult to recognize during training, and some people have reduced awareness of lows. Use your device instructions and your agreed treatment plan rather than deciding from how the graph looks alone.
Pause the bench press safely
Never try to solve the problem mid-lift with a loaded barbell. Rack the bar safely, using your spotter or safety setup when needed, and stop lifting while you address the alert.
Check and act according to your plan
- Assess how you feel. Shakiness, lightheadedness, confusion or other low symptoms need attention. Absence of symptoms is not proof of a sensor error.
- Check according to your device instructions. If the reading does not match your symptoms or expectations, use your backup blood glucose meter for treatment decisions as instructed. Dexcom G7 basics and treatment-decision guidance (opens in a new tab)
- Address a low promptly using your personal plan. Do not wait for the graph to catch up or for pressure relief to demonstrate that the reading was wrong. If you cannot check promptly, follow the plan your team gave you for that situation.
- Continue the checks and treatment your plan requires before considering a return to training. A single improved sensor reading does not establish that you are ready for another set.
The ADA explains low-glucose symptoms and treatment, including the importance of prompt action. Keep your usual treatment accessible and know your emergency plan. ADA: low blood glucose symptoms and treatment (opens in a new tab)
If someone is unconscious, having a seizure, or cannot safely swallow, get emergency assistance and use prescribed glucagon according to the emergency plan. Do not give food or drink by mouth to someone who cannot safely swallow. This is beyond sensor troubleshooting. ADA: severe low blood glucose and glucagon (opens in a new tab)
Your meter and low-treatment supplies should be nearby. A kit left in a gym locker is much less useful when you need it beside the bench.
Plan sensor placement within the product instructions
Once the immediate situation is addressed, think ahead to the next sensor change. Consider the bench, overhead movements, sleeves and nighttime sleeping positions, and discuss repeated contact with your diabetes team or device support.
For US adults, both standard Dexcom G7 and Dexcom G7 15 Day use the back of the upper arm. The products have different age indications, so use the instructions for the exact version you wear. Dexcom also advises avoiding areas likely to be bumped or pressed and keeping the sensor at least three inches from an injection or infusion site. Dexcom: approved G7 and G7 15 Day insertion sites (opens in a new tab)
Do not improvise an unapproved wear site to avoid the bench, and do not move an inserted sensor to another location. Ask about placement within approved areas and the guidance for persistent reading problems. Repeated calibration is not a substitute for checking and treating a possible low.
Keep notes that explain what happened
Record the exercise, how the sensor contacted the bench, the time of the alert, symptoms, CGM readings, meter results when checked, treatment and what happened after pressure was relieved. Add relevant recent insulin and food timing. These details can be more helpful than screenshots without context.
A hypothetical example
A lifter gets a low alert after lying back for a bench-press set. They safely rack the bar, pause the session and check according to their device instructions and low-treatment plan. They do not assume bench contact makes the alert harmless. After the immediate issue is resolved, they note the position, readings and any treatment for a later review.
If the same pattern keeps happening, that record gives the diabetes team and device support something specific to investigate. The goal is to make future checks and equipment planning more reliable, rather than repeatedly guessing during a loaded lift.
For the wider training picture, visit the T1D strength-training guide. For help organizing nutrition alongside training, contact Enigma Nutrition to discuss your goals and available care.
This article provides general education. Follow your exact device instructions and individualized hypoglycemia plan; a possible sensor error does not mean no action is needed.